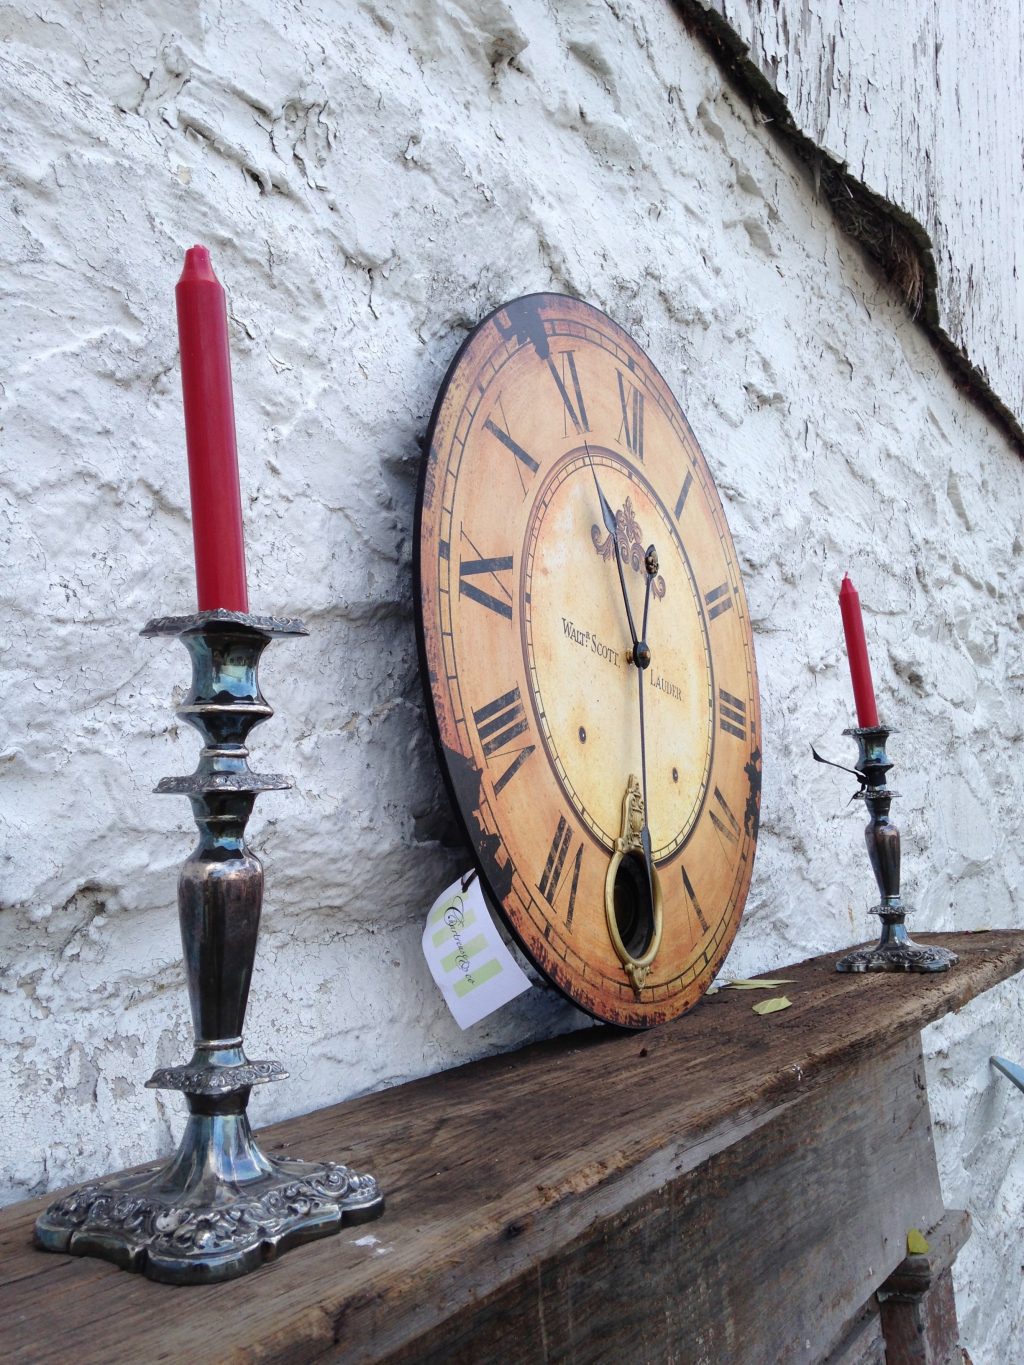
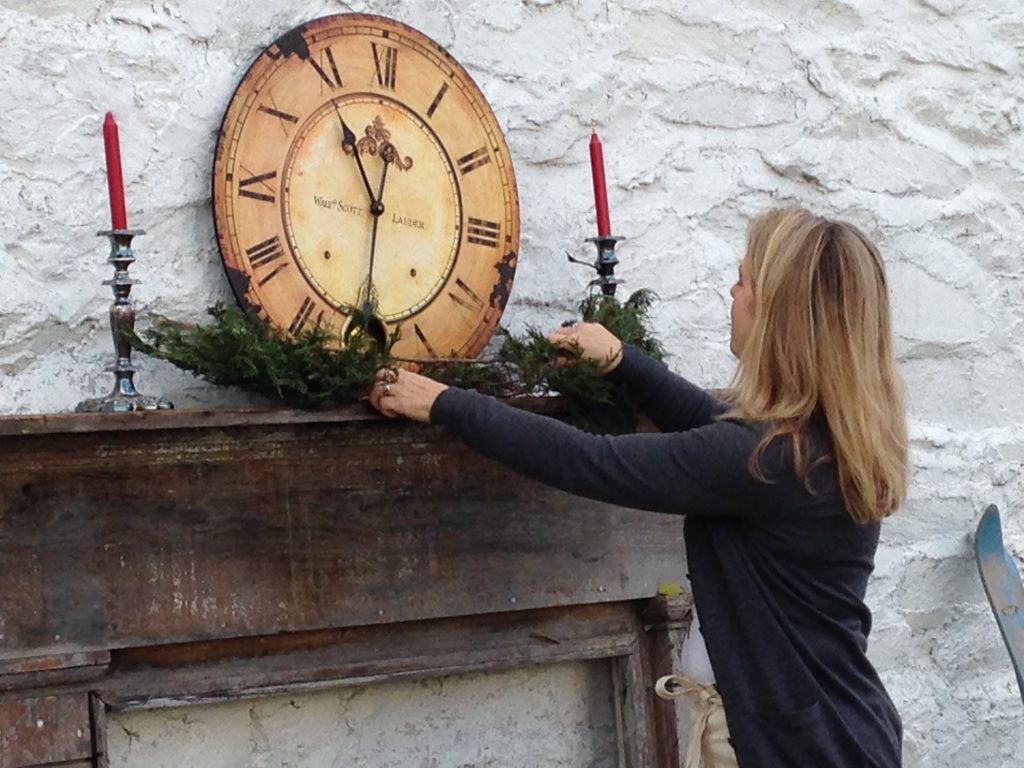
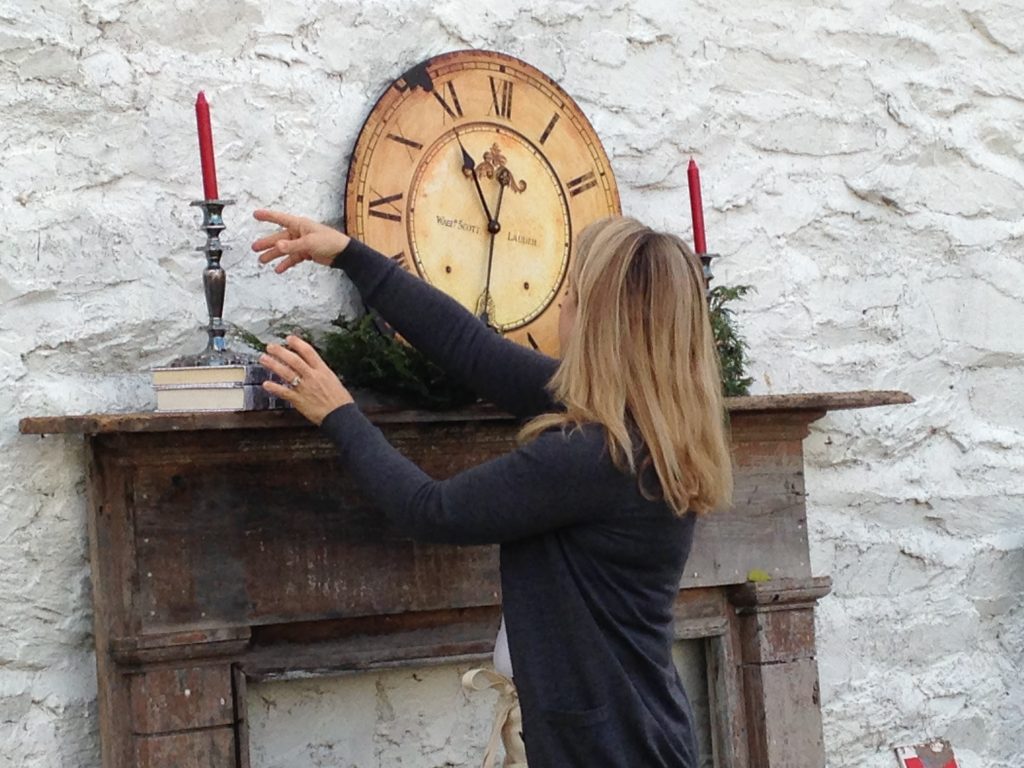
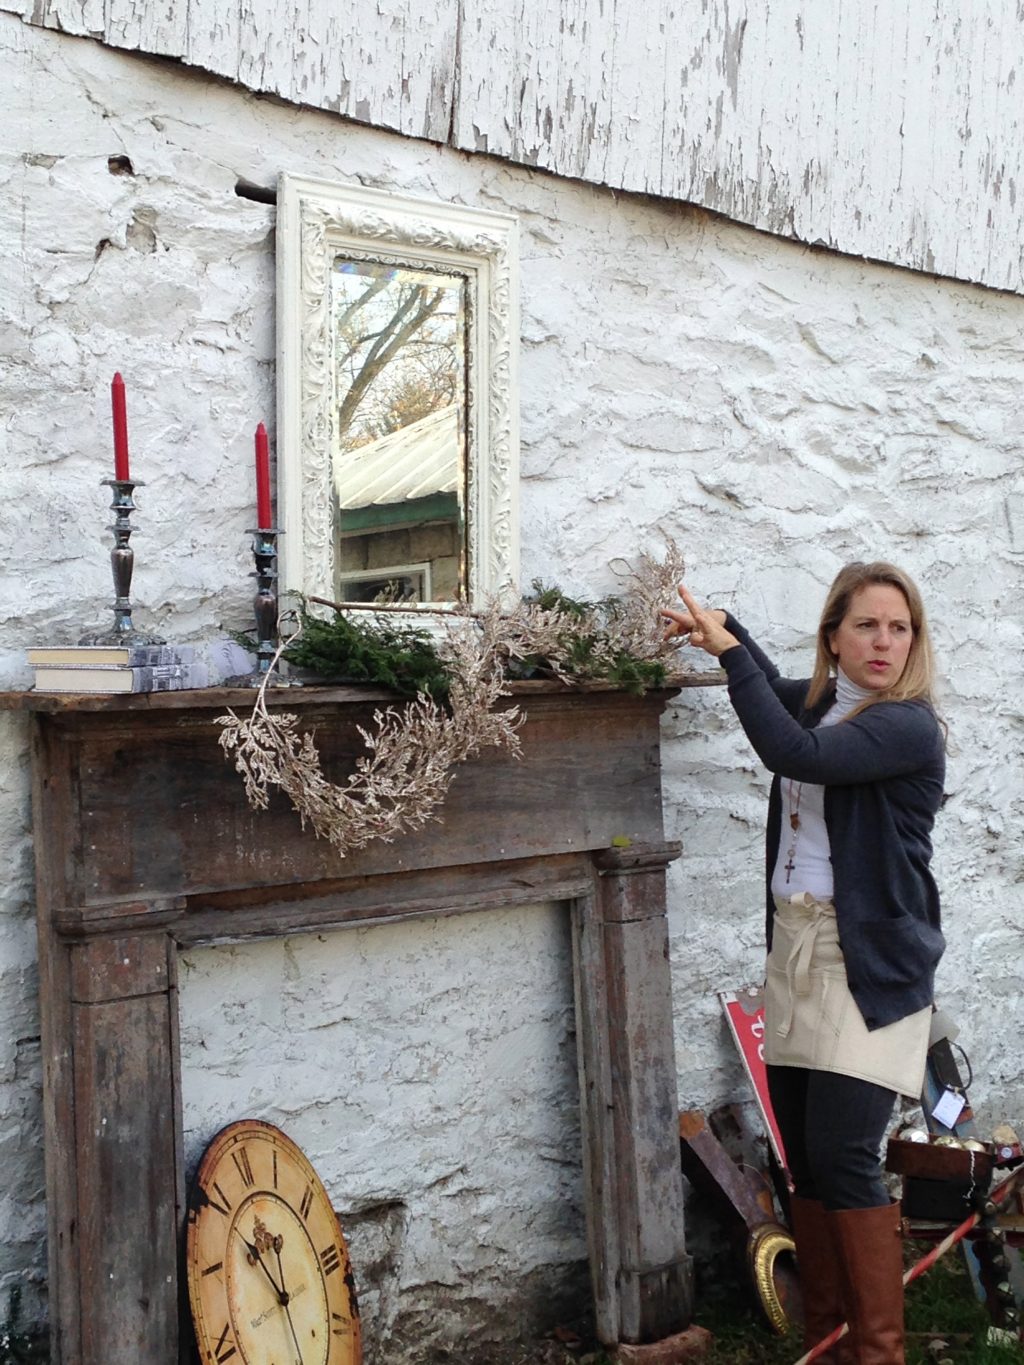
Let’s start with the most basic of mantle decorating designs: candlesticks flanking a clock or mirror. There is nothing wrong with this design. Yet, take a look at it. Does it really draw you in? Does it turn your head or engage your interest? Not really.
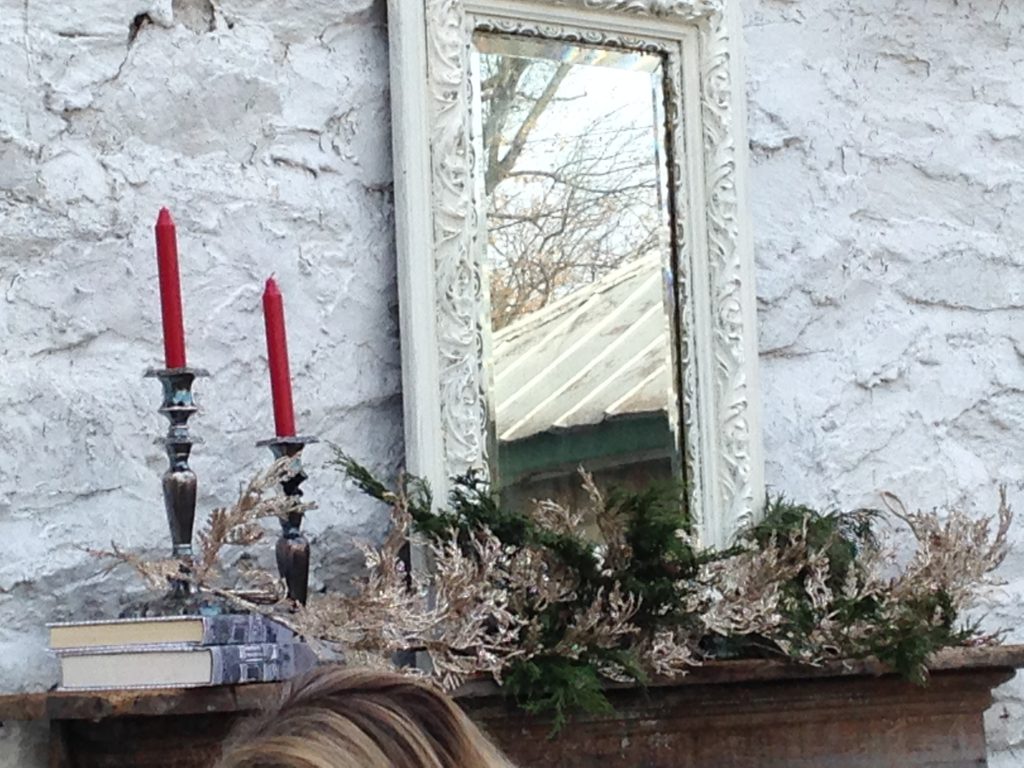
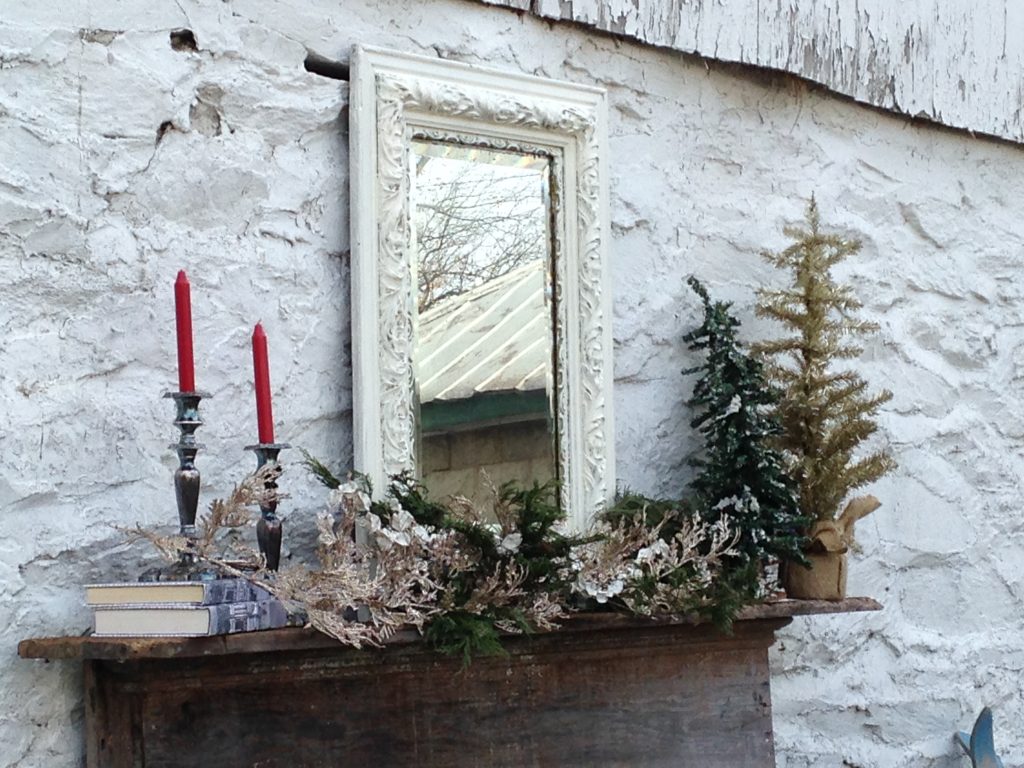
Step 1: Add greens. A base of natural greens – found in your own yard or clipped from the Christmas tree – is best.
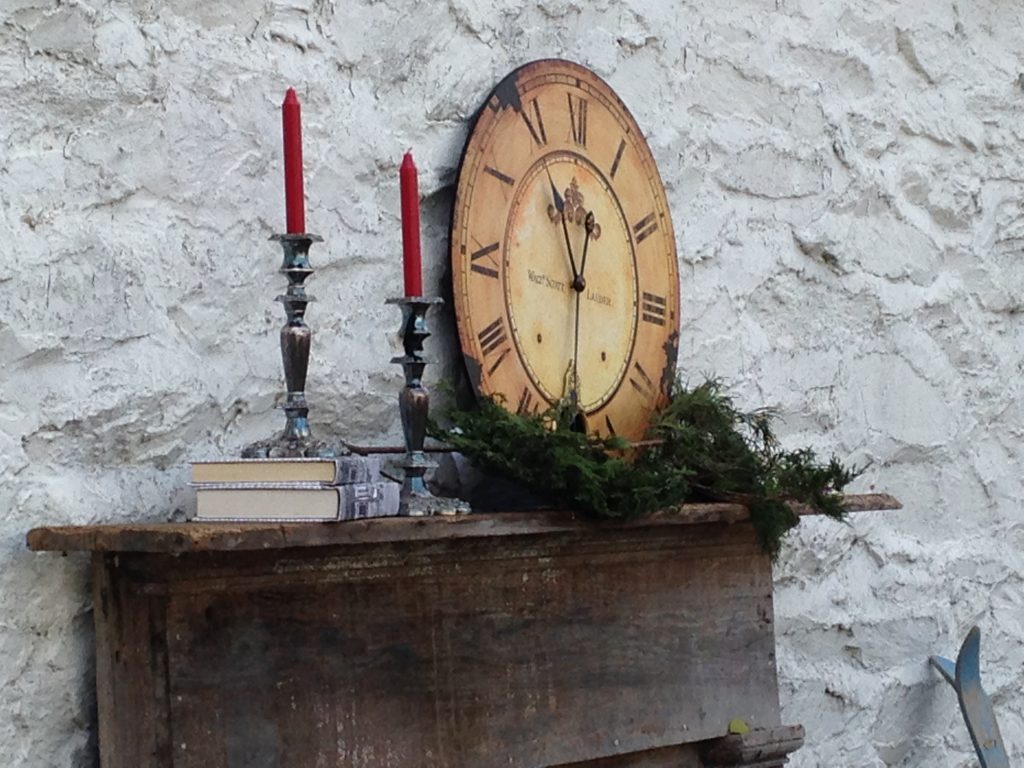
Step 2: Create asymmetry. Change the height of one of your candlesticks to add flow to the display. Here I use books – my favorite decorating go-to for giving an element the height it needs.
Go further with the asymmetrical design by moving the candlesticks together, and pulling the clock to an off-center position.
It’s getting better, isn’t it?
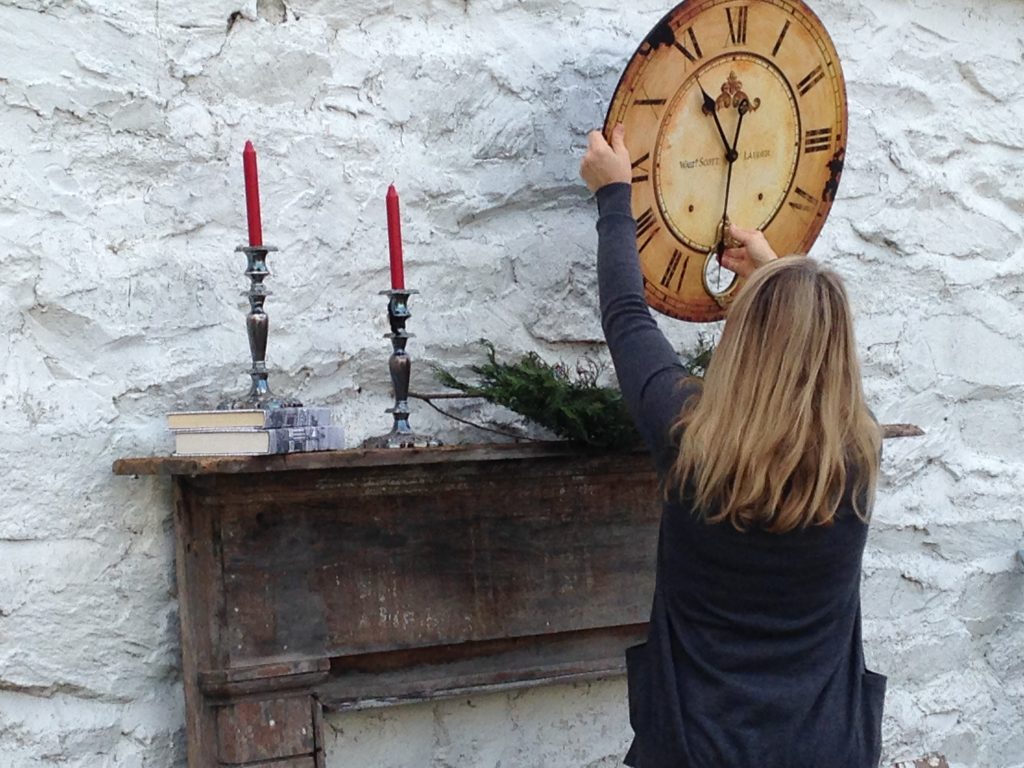
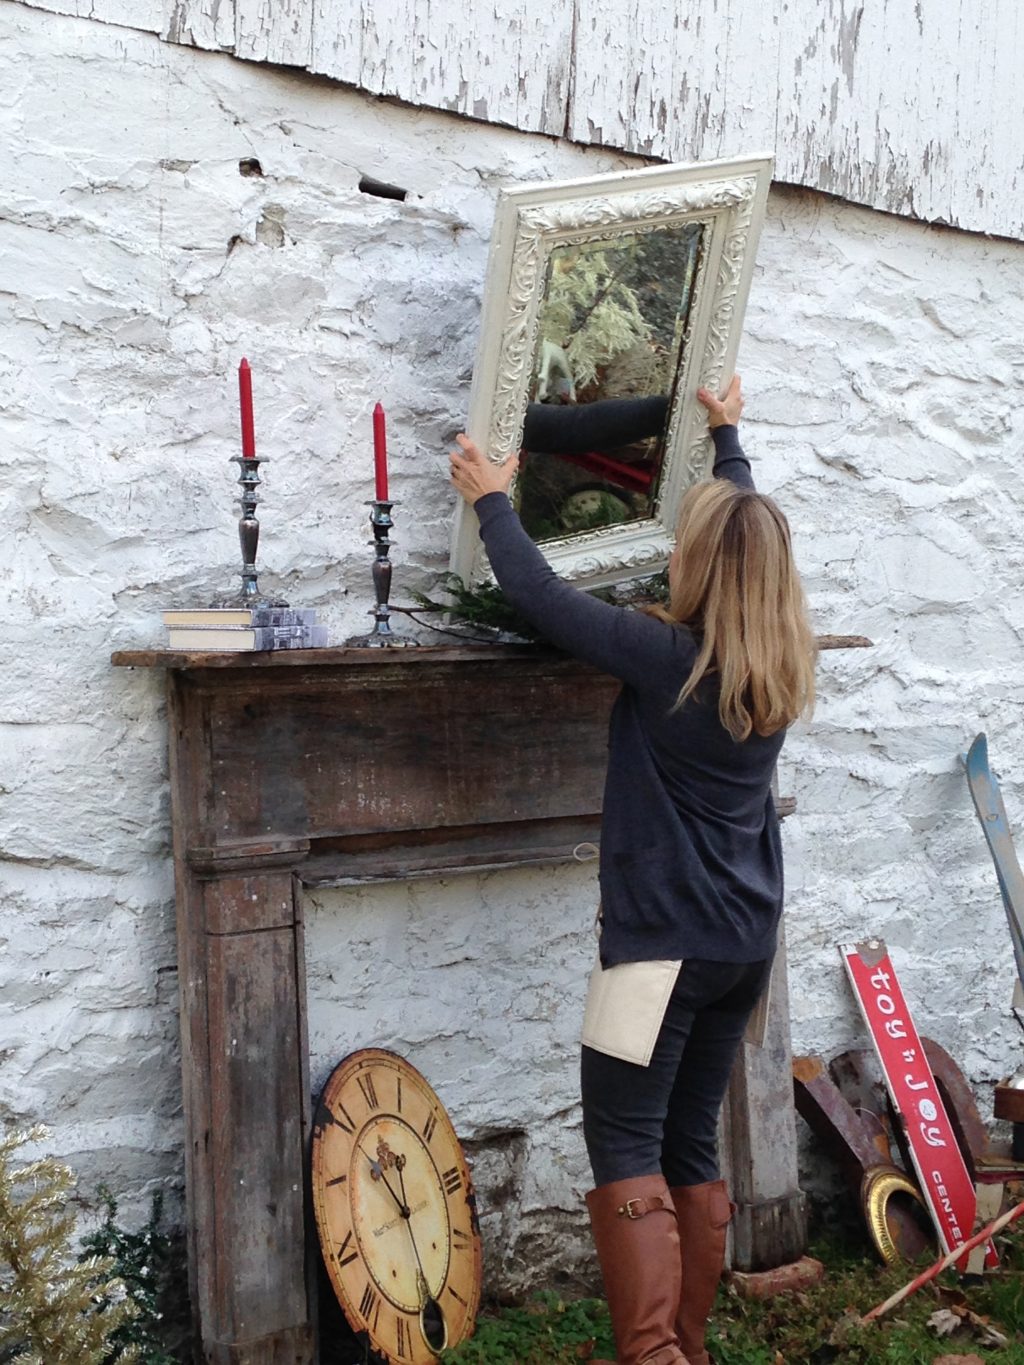
Step 3: Employ vertical elements. I’m removing the round clock so that I can add some additional height.
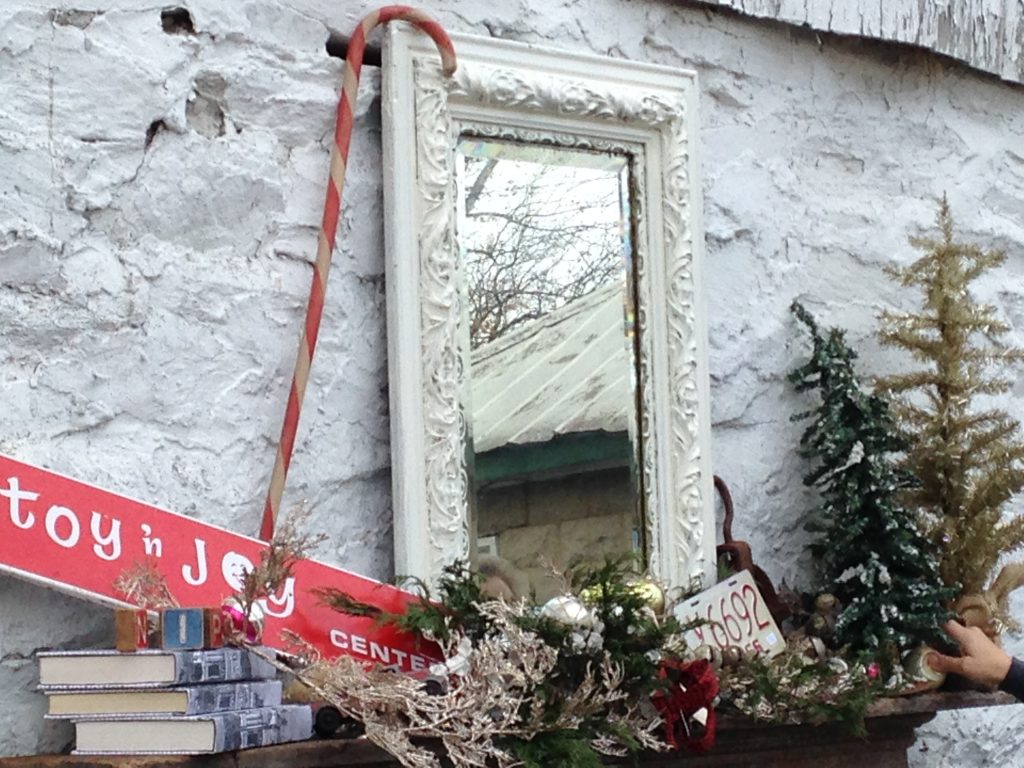
I’ve found just the thing in this vertically hung, vintage mirror. Mirrors have the added benefit of their reflective nature and room-opening power.
Step 4: Intertwine layers of garland. Intertwining the wired, glittered garland with the natural greens gives shape and interest. When using store-bought greens, always work with them to give them the lively shape that you want them to have. Never leave them flat as they come from the store.
Here, interweaving them with the natural greens gives liveliness to the display.
Note how this base of greenery has tied the major, vertical elements together.
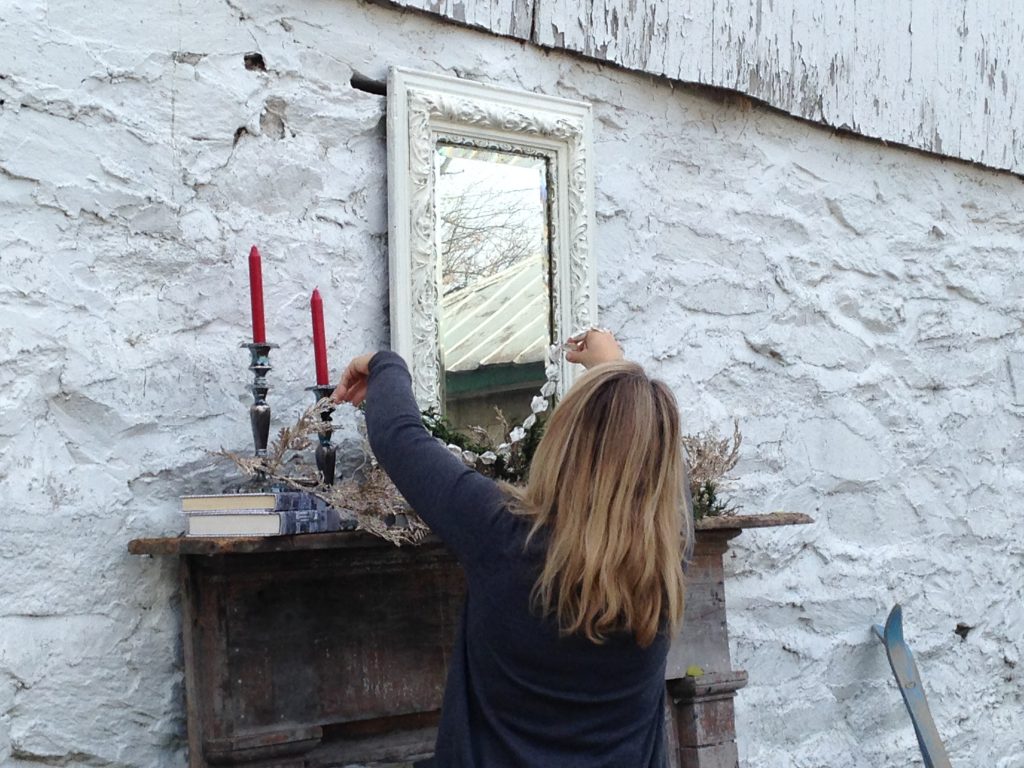
Step 5: Add texture. These paper garlands add whimsy and texture.
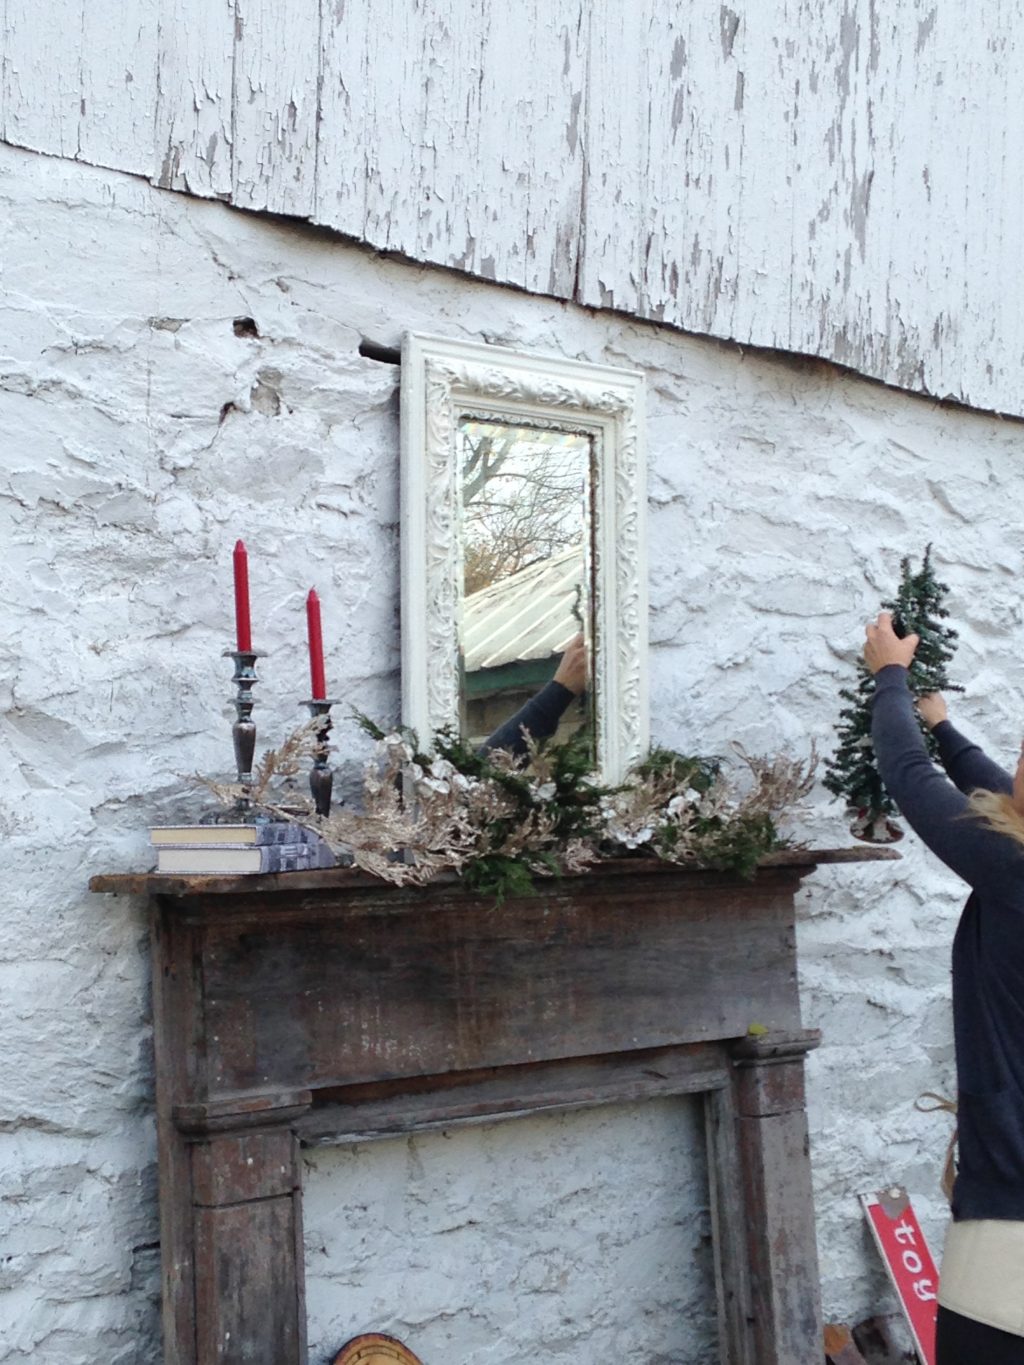
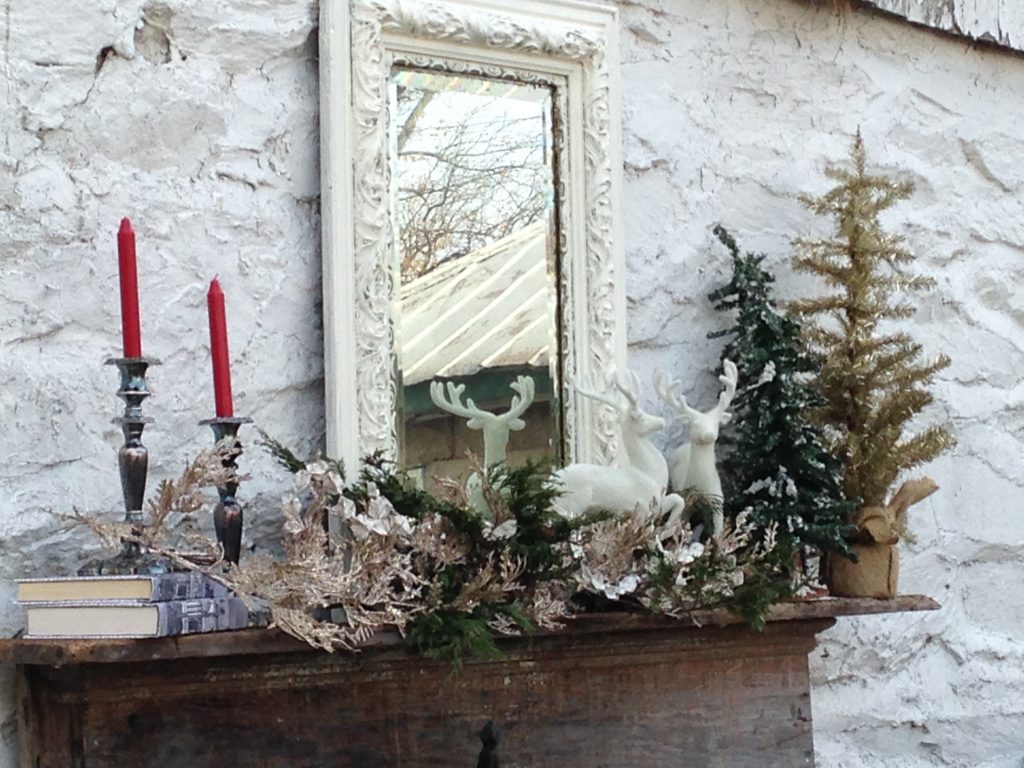
Step 6: Include a theme. They mantle already looks great, but we can take it to the next level with a theme – in this case I’m doing Woodland.
Step 7: (Woodland theme) I’ve added both a natural and a tinsel tree, combining the glittery with the earthy, as we’ve done with the garland base.
Step 8: Add figures. These felted deer provide a sculptural element, and serve the design function of linking the white, carved frame to the trees and garland below.
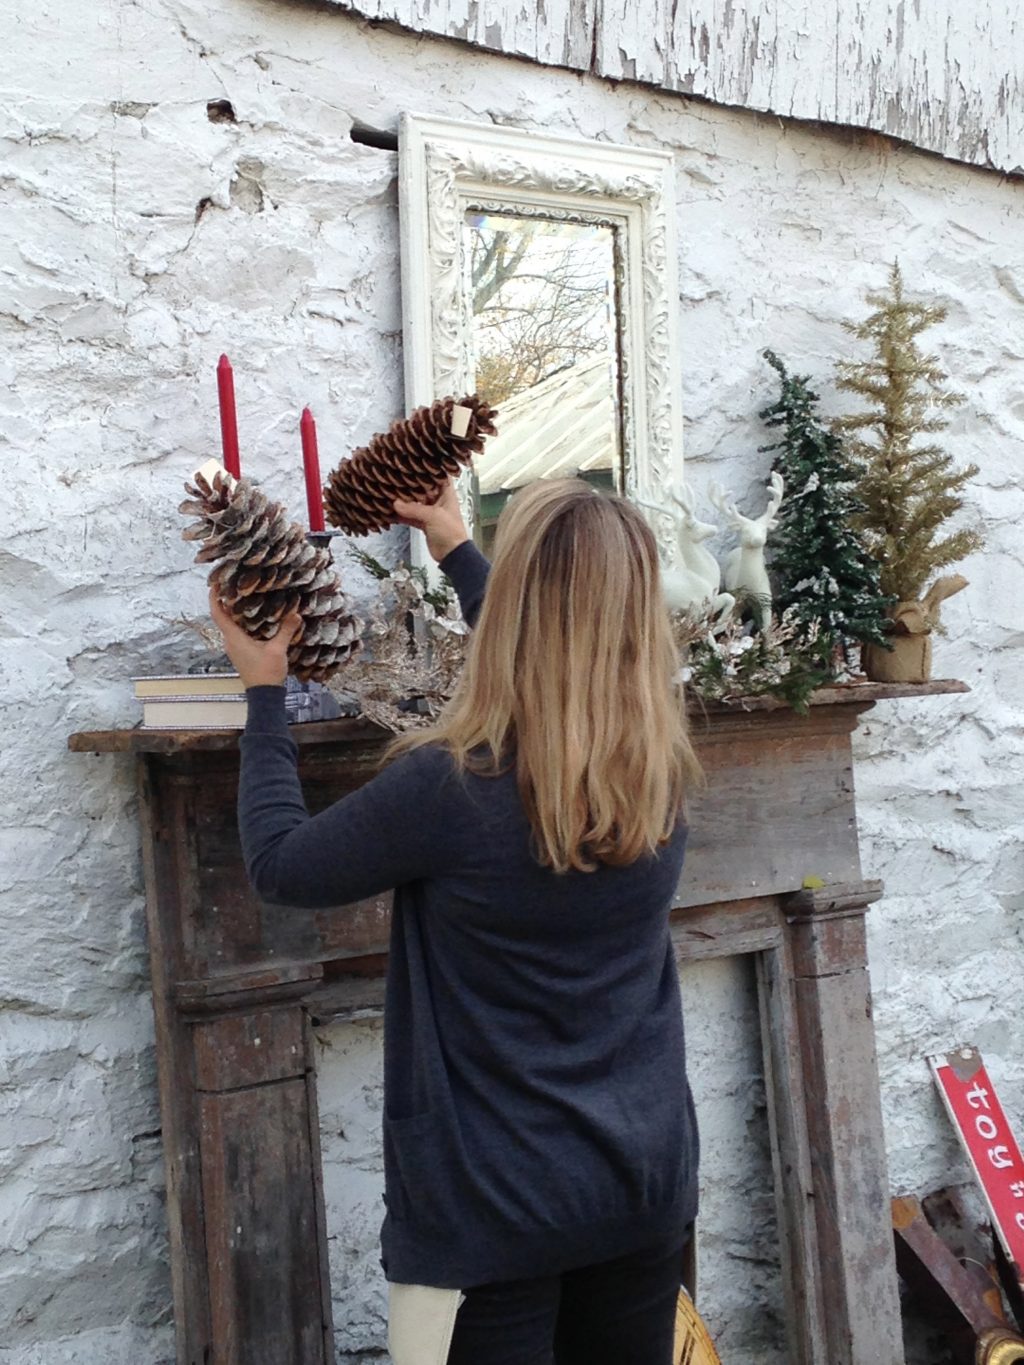
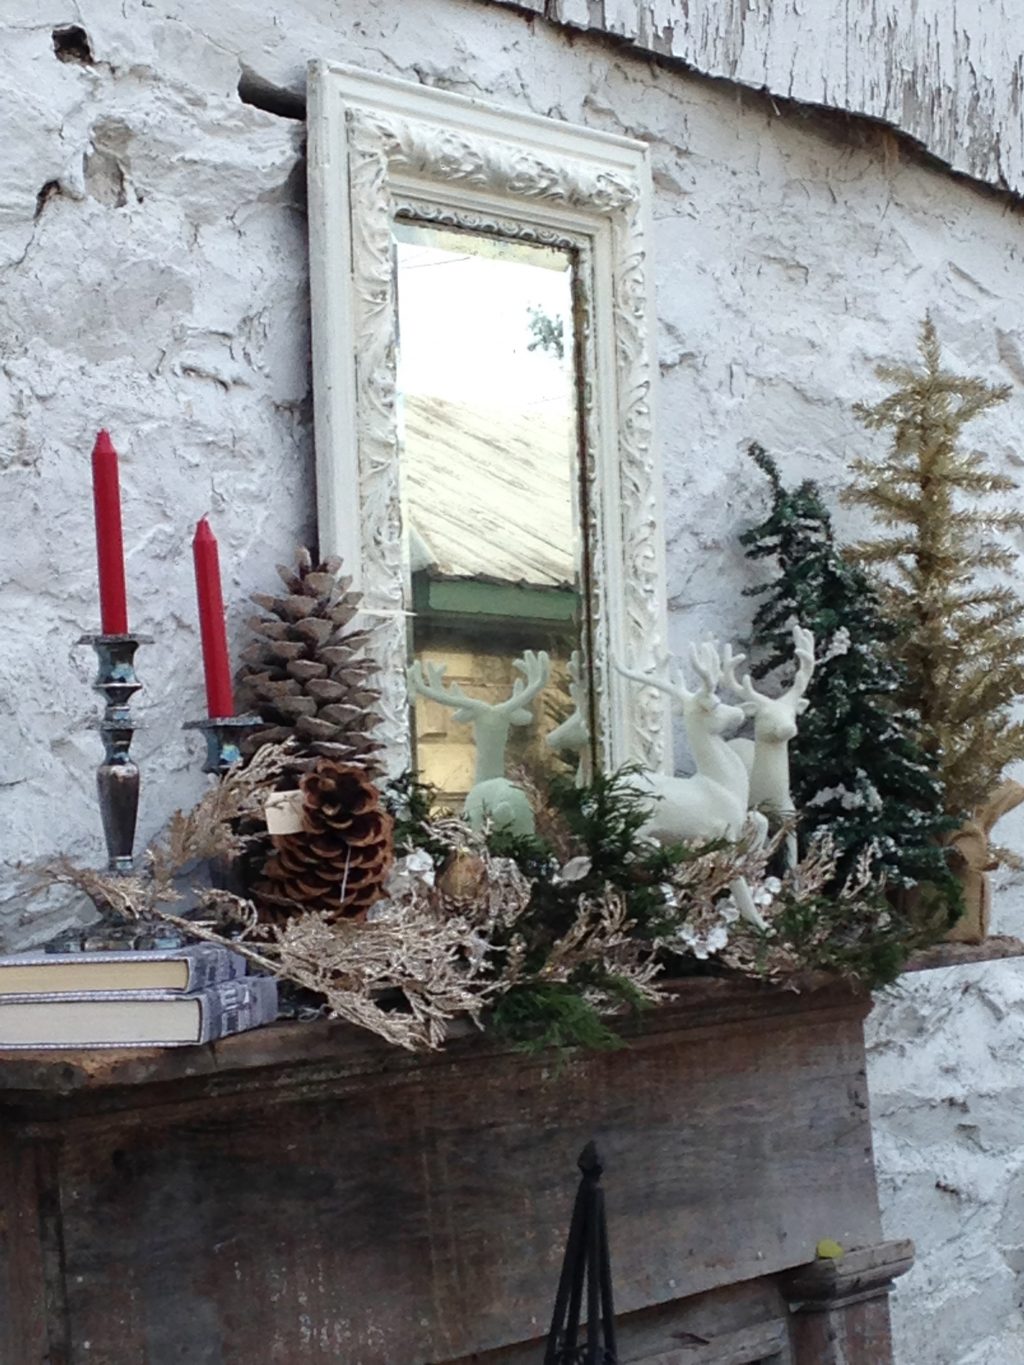
Step 9: Maintain visual balance. The ‘weight’ of the deer needs to be balanced on the opposite side. In this case 2 large pine cones – one natural and one dusted with German glass glitter – work perfectly.
Step 10: Tuck ornaments and tiny items amongst the greenery. Small owl and squirrel ornaments complete the Woodland theme, as they add that extra level of interest – that little something you see as you come nearer to the mantle.
Compare this photo to the first one. Quite a difference. And we had so much fun doing it!
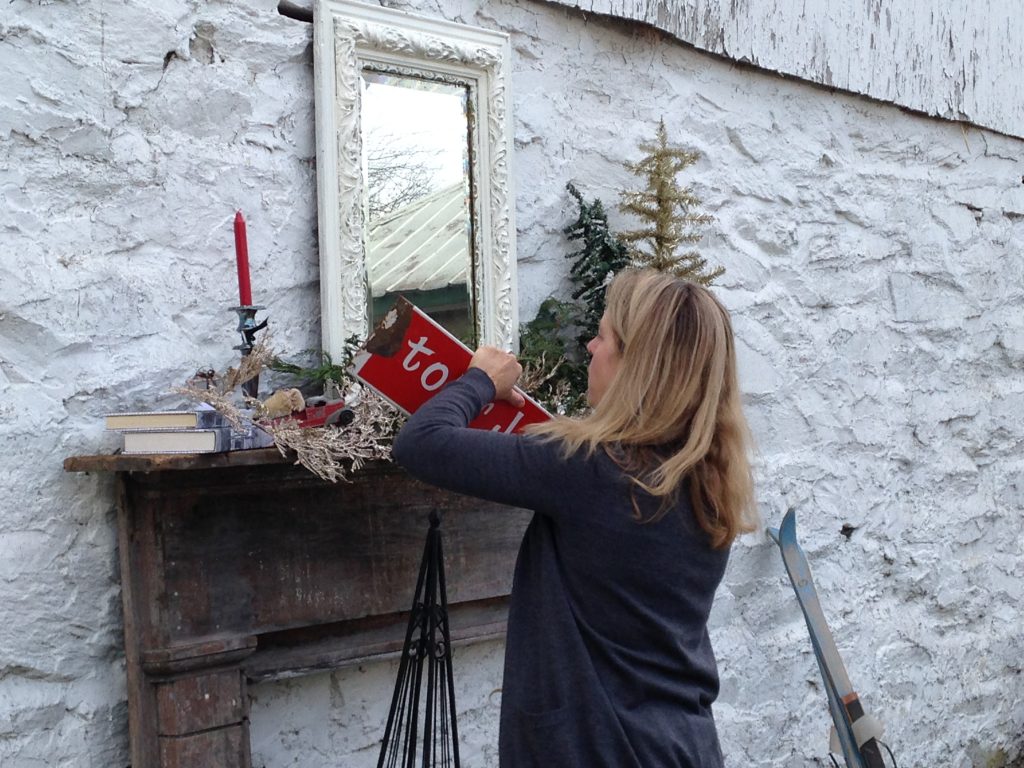
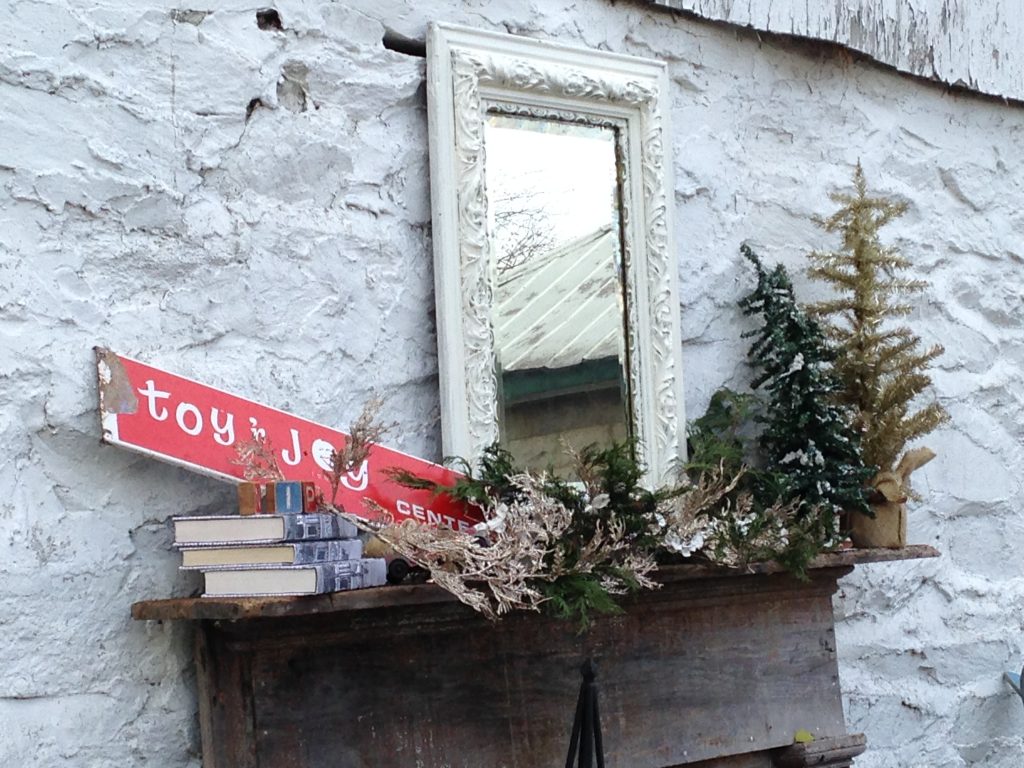
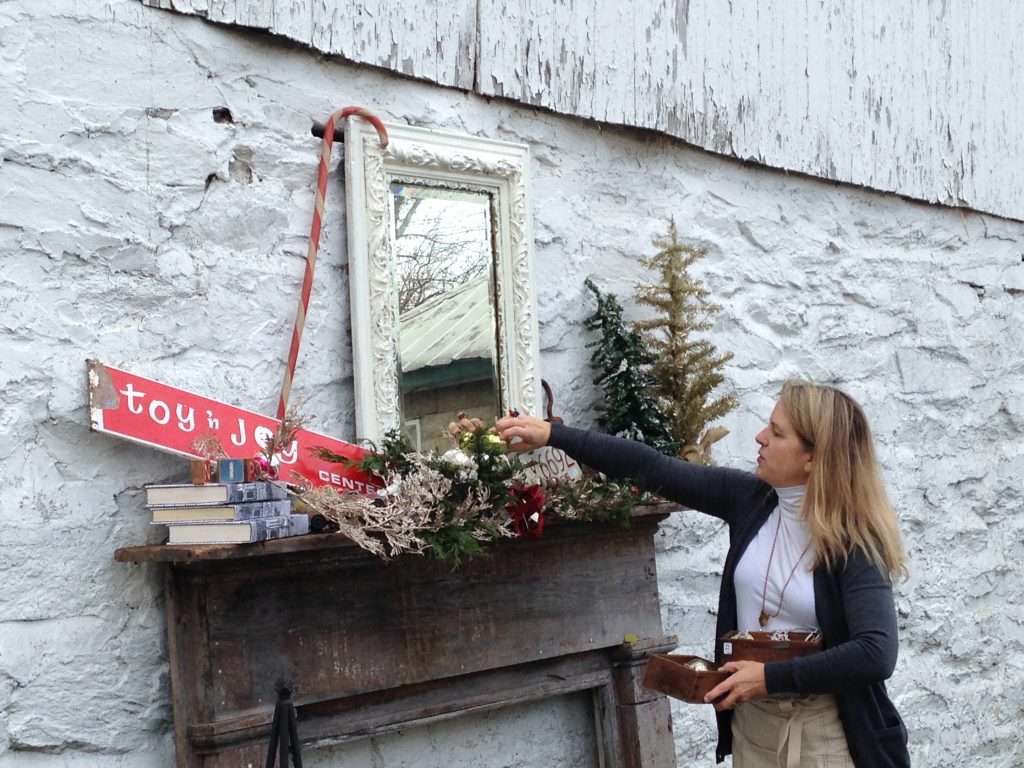
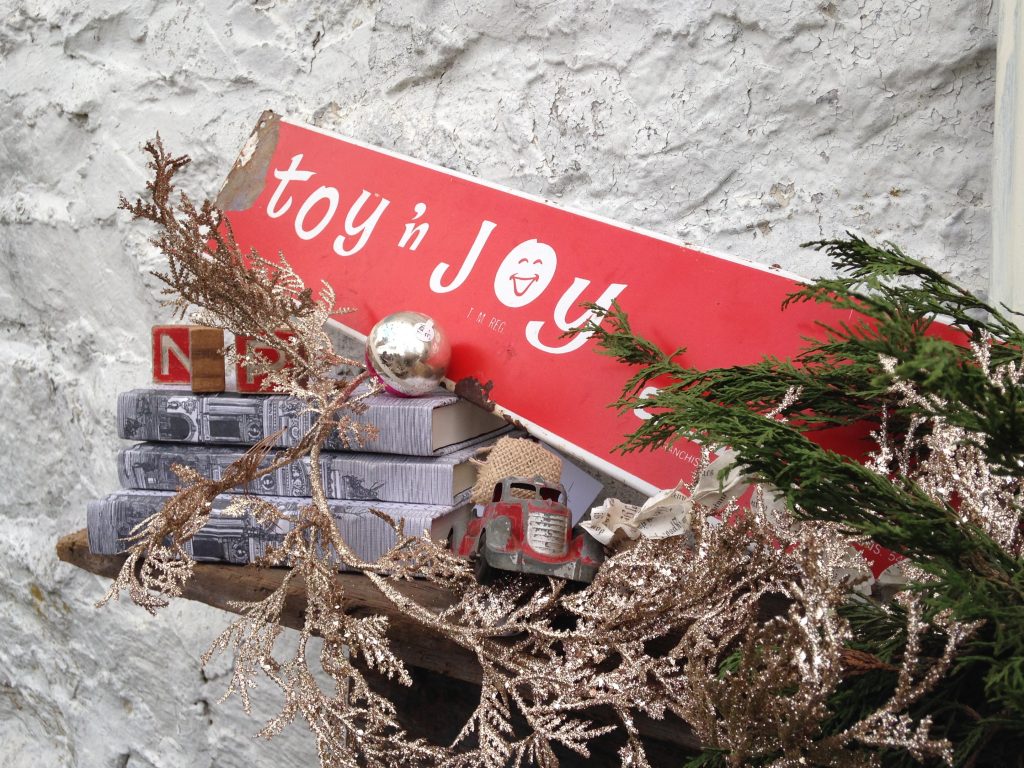
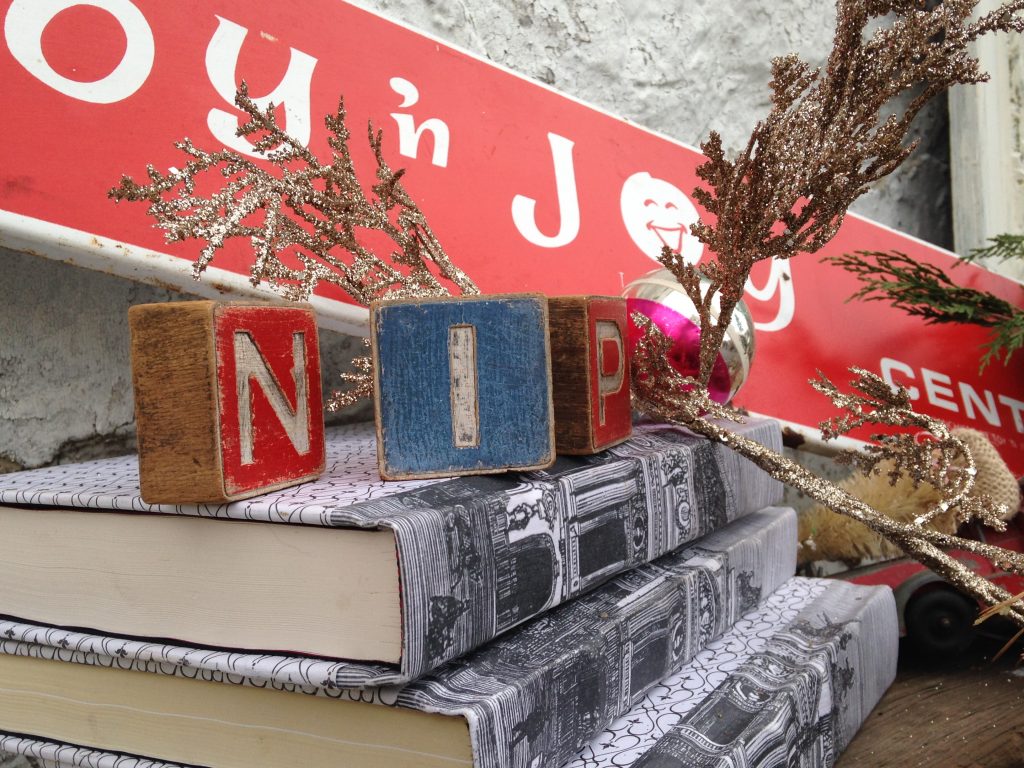
Step 6: (Vintage Toyland theme) Let’s remove the formal candlesticks (which provided that shot of red for the Woodland theme) in favor of a vintage toy store sign.
While the elements are completely different (silver candlesticks vs. graphic sign), design-wise they serve the same purpose, which is to balance the trees and mirror.
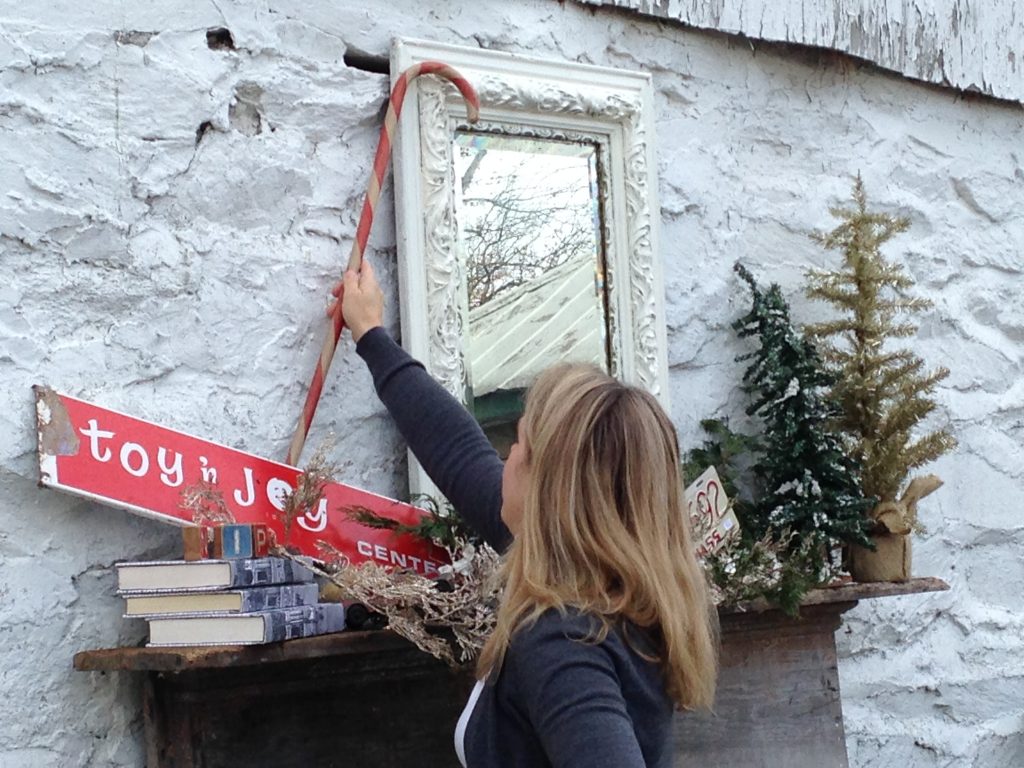
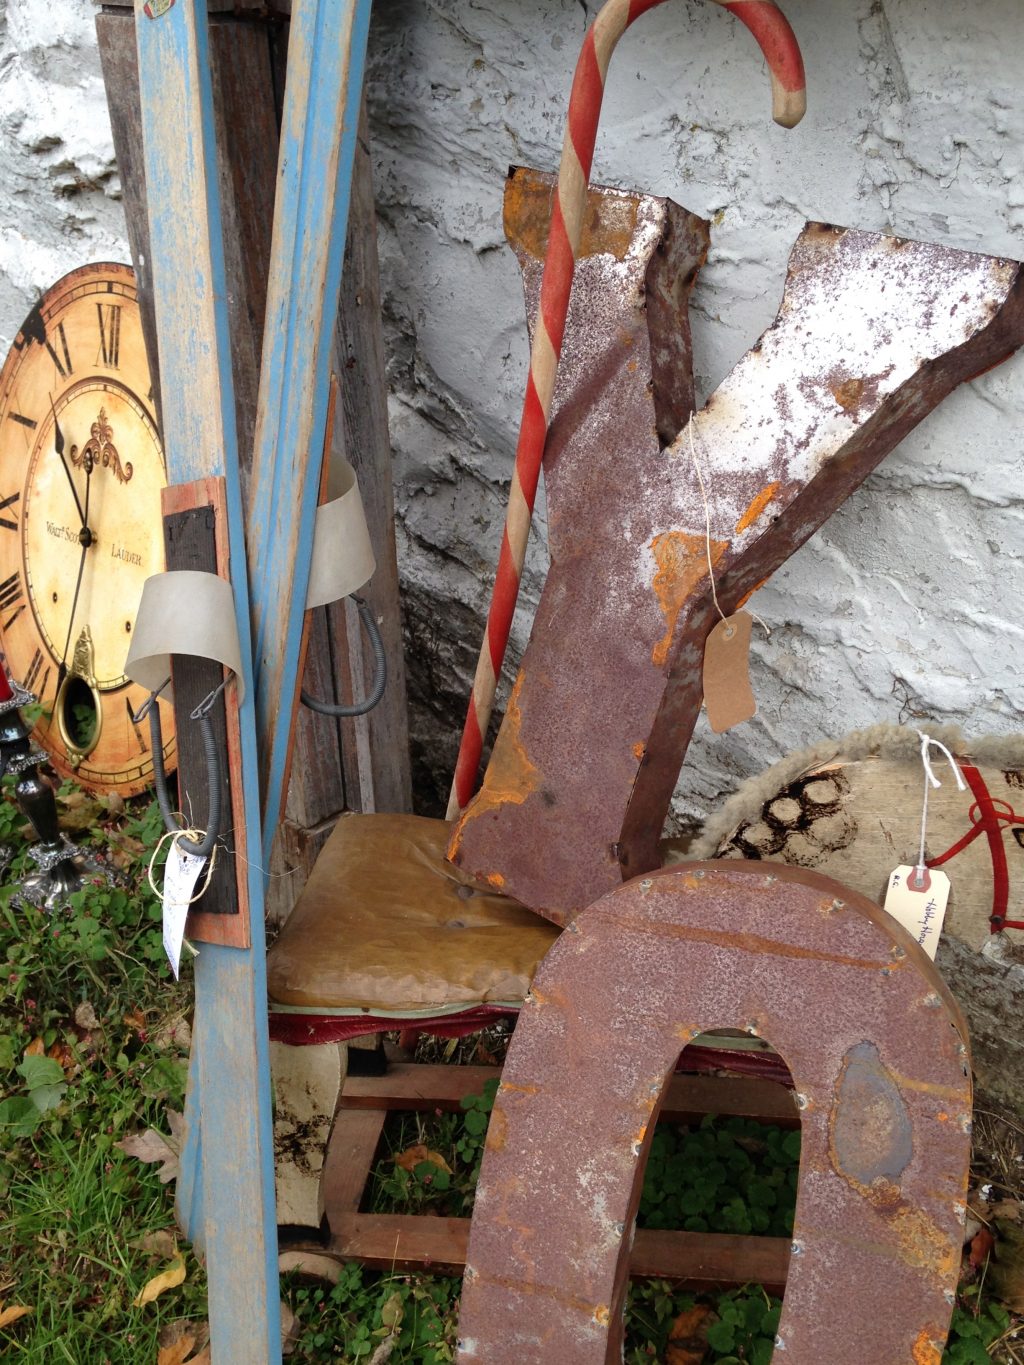
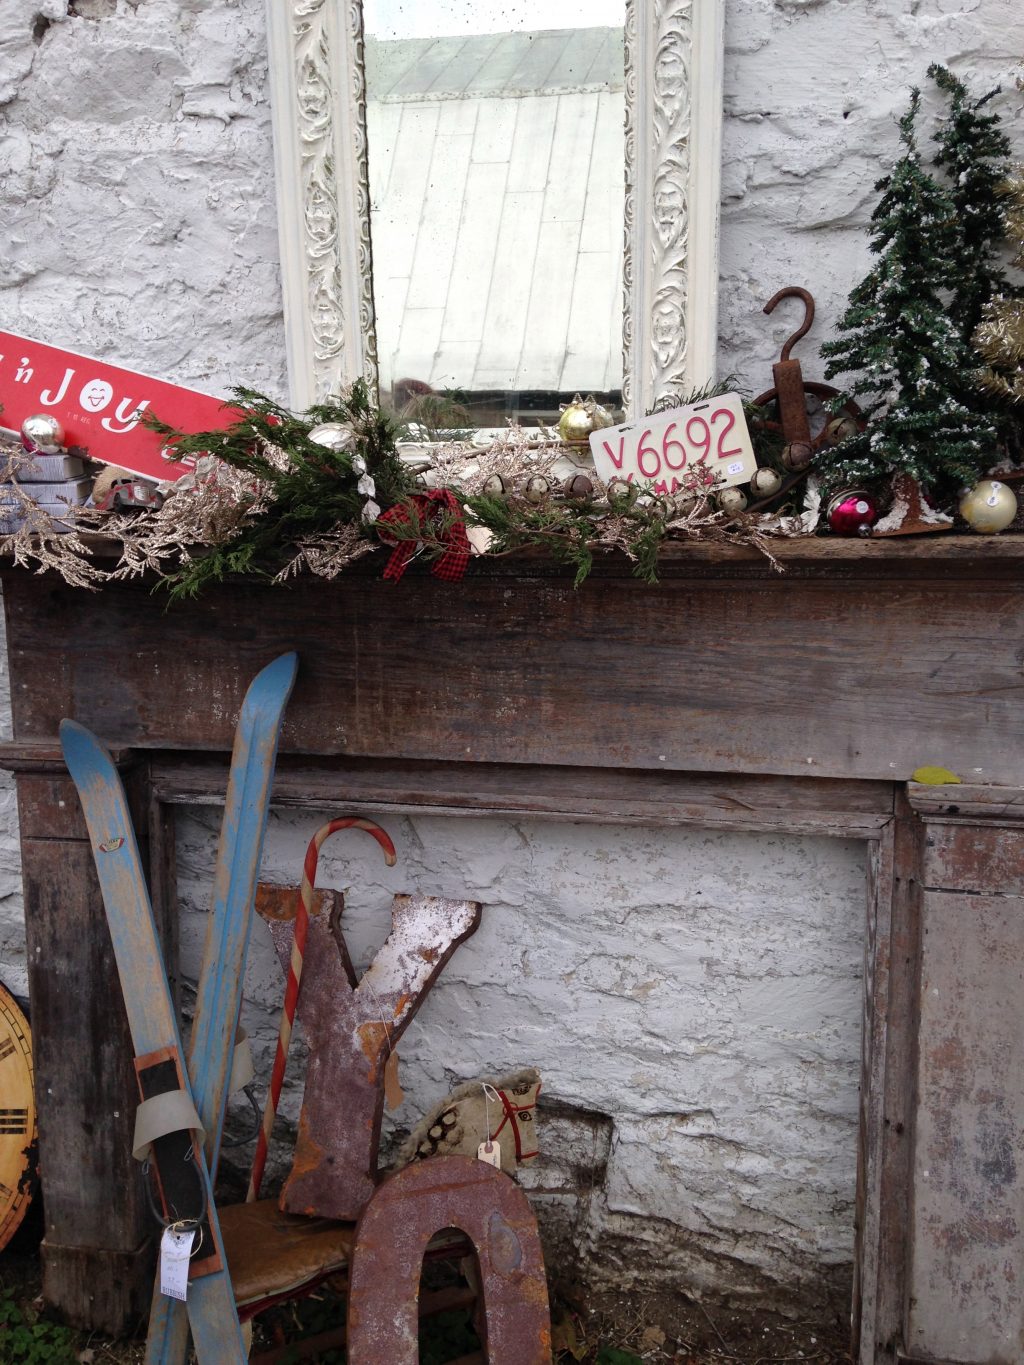
Step 7: Add whimsy. Love the playfulness added with this candy cane. It also draws together the base to the full height of the mirror.
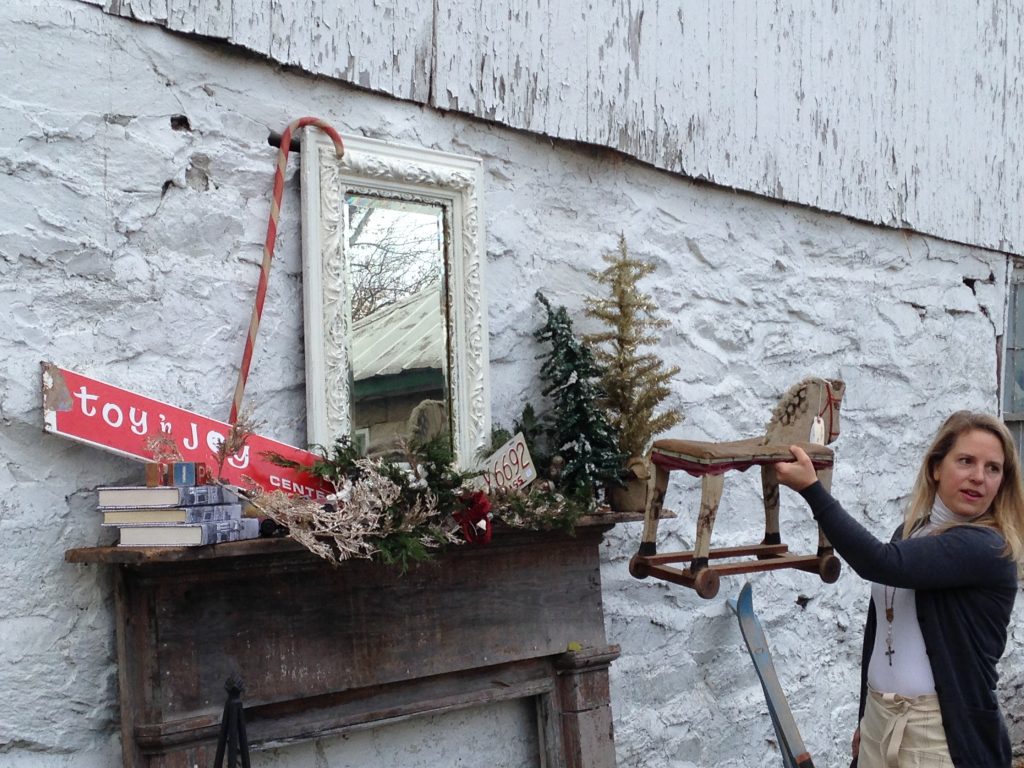
Step 8: Embrace scale. If I had room on the mantle, I’d love to use this vintage toy horse in the display. Alas, it just won’t fit.
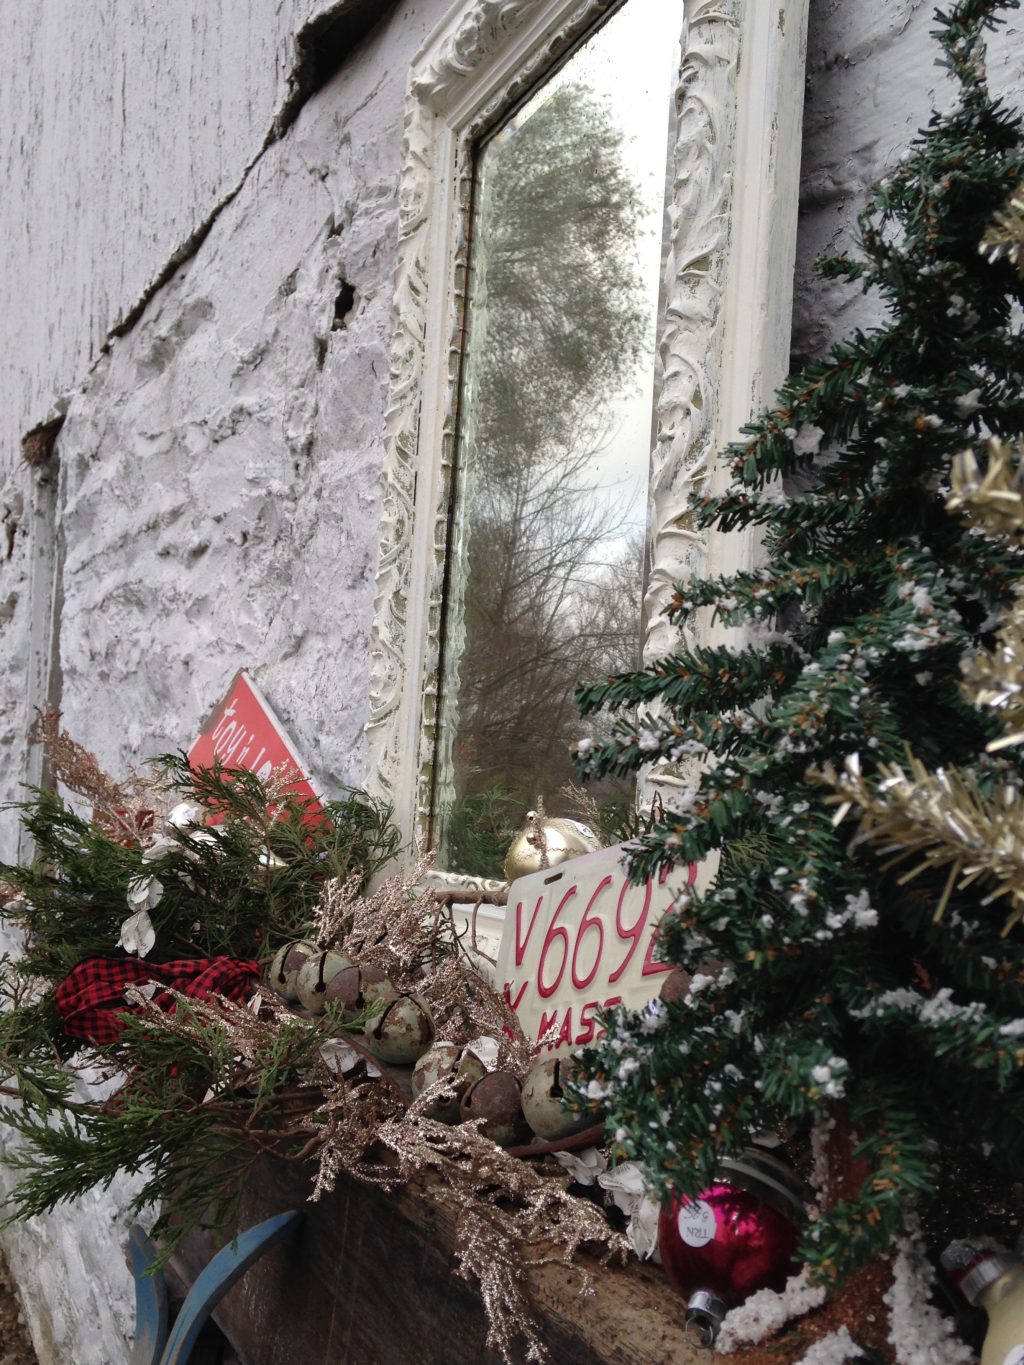
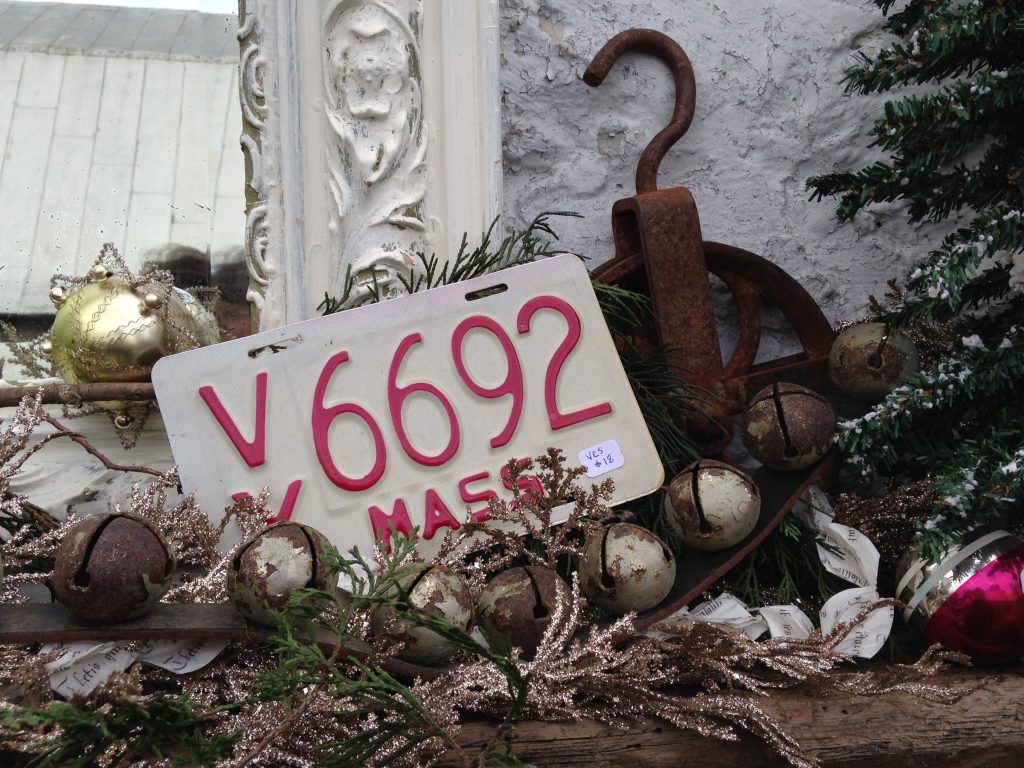
Step 9: Add little details. Tuck vintage ornaments among the greenery.
Step 10: Use graphics. Add to the graphics of the toy store sign. I’ve used the blocks to spell out N I P, as well as a little red and white bike license plate.
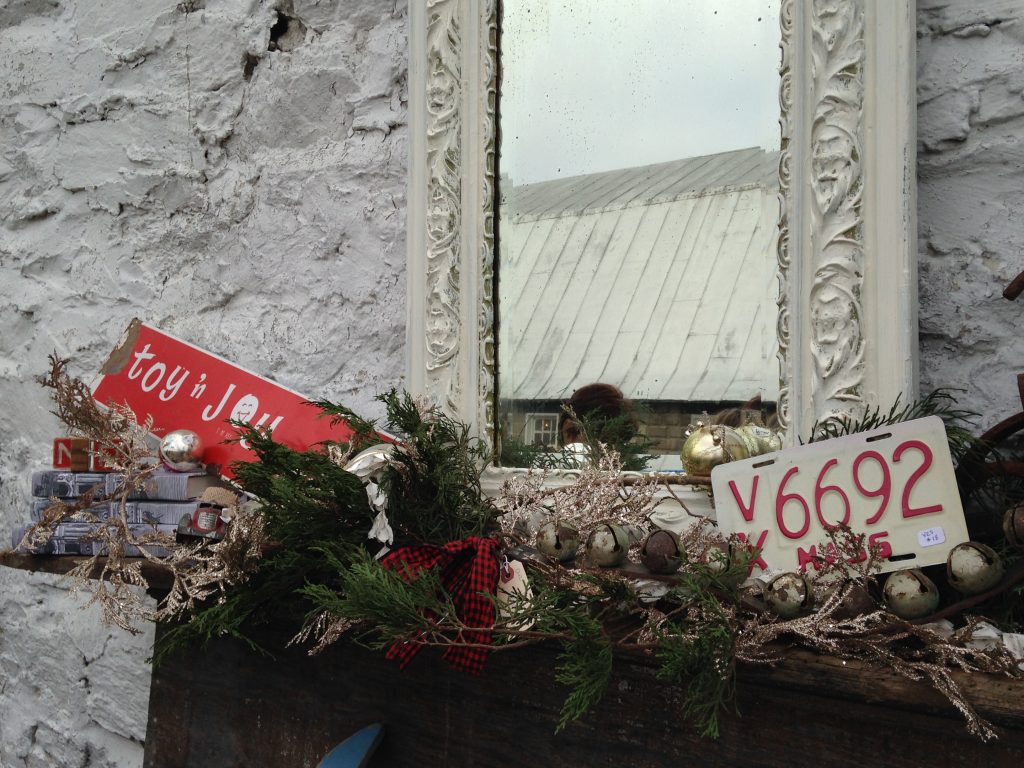
And here’s the final product. I love the richness and detail of this display.
Note the little toy truck poking out from under the ‘toy ‘n joy’ sign.
Step 11: Don’t forget the fireplace itself. If you’re not burning a fire, use this space to display beautiful items that integrate with your mantle. In this case the blue child’s skis, candy cane, and oversized letters do the trick.
Hope you found this inspiring and useful. Let me know if you have any questions!
Thanks for reading!
Virginia
